Main Menu

Darning Socks
By Pat Oehler

Materials:
- Darning or Yarn Needle.
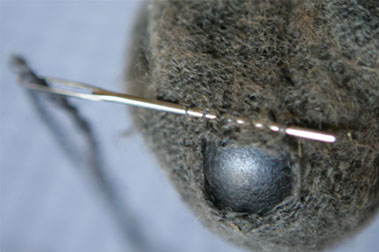
- Darning Ball/Egg (or substitute)
- Worsted weight yarn, 3 strands reduced to 2 strands.
- Patience.
Overview:
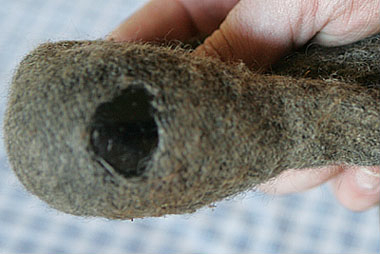
You are essentially recreating the weave of the sock you are repairing. If
you simply stitched the hole closed the sock would not give, and simply tear. The
reason for reducing the yarn, is due to it being too thick to work with, and making
a lump in the sock. If you are lucky enough to find a very fine weight of yarn, you
won't have to reduce it. Working on larger holes takes longer, so if you notice a
small hole in a sock try to stop using it and repair it ASAP, otherwise this may
take an hour or so.
Steps:
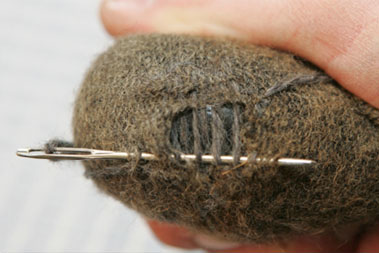
- Work in one direction, starting to recreate the weave a few rows above and before the actual hole to build up some integrity for your repair. You will want to alternate over/under with the existing yarn.
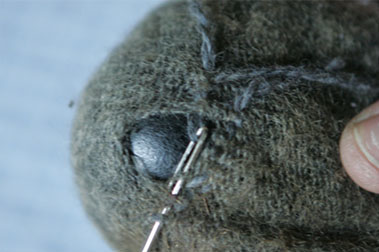
- Continue to make passes through the material surrounding the hole until you pass the end of the hole. You will want to do this past the hole for a few rows as well.
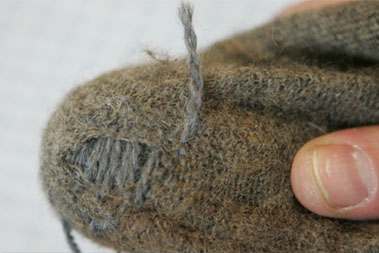
- When you begin to work in a perpendicular direction to your first rows, you will want to maintain the over/under pattern.
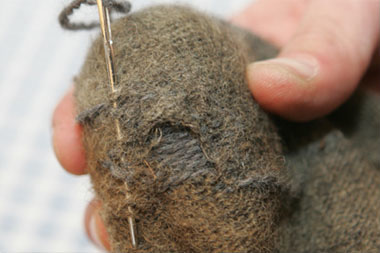
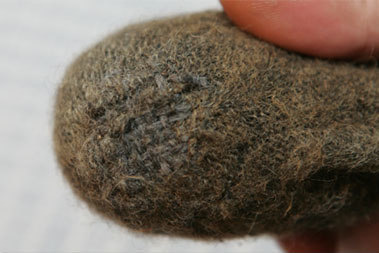
- When you have completed the crisscross pattern of the weave, you can tie off the end of your last row to the end of your first row.